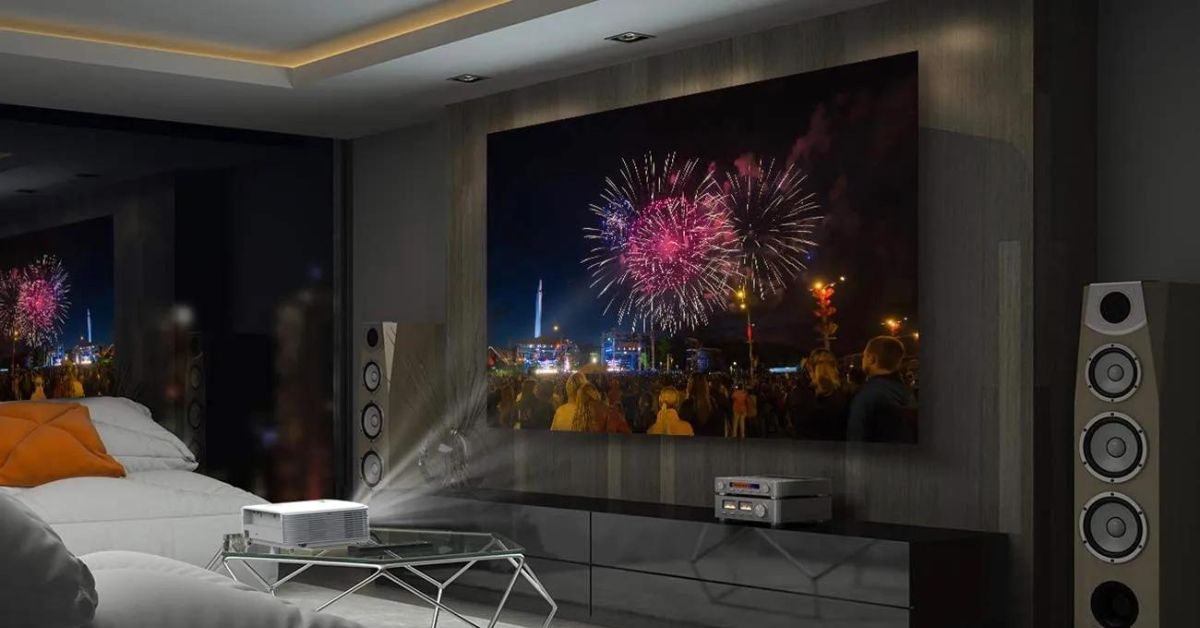
In the ever-evolving world of home entertainment, the Home Theater system has become a staple for those seeking an immersive and cinematic experience without leaving the comfort of their living rooms.
With advancements in audio-visual technology, connecting your home theater to your TV has never been easier, and HDMI (High Definition Multimedia Interface) has emerged as the go-to standard for transmitting high-quality audio and video signals.
In this comprehensive guide, we will delve into the intricacies of connecting your home theater to your TV using HDMI, ensuring you get the best possible audio-visual experience.
Understanding HDMI
Before we embark on the journey of connecting your home theater to your TV, it’s crucial to have a solid understanding of HDMI. HDMI is a digital interface that allows the transmission of high-definition audio and video signals between compatible devices.
It has become the industry standard for connecting various home entertainment components due to its ability to deliver uncompressed, high-quality content.
Components of Home Theater System
To establish a successful connection between your home theater and TV, it’s essential to familiarize yourself with the key components involved:
- Home Theater Receiver: The central hub of your home theater system, the receiver acts as a control center for audio and video signals. It typically features multiple HDMI inputs and outputs.
- TV: Your television is the visual centerpiece of your home theater. Ensure it has HDMI input ports, as most modern TVs do.
- Speakers: The speakers provide the audio component of your home theater. They may include front, center, surround, and subwoofer speakers for a complete surround sound experience.
- Blu-ray/DVD Player, Gaming Console, or Media Streamer: Additional components that contribute to the overall home theater experience. These devices connect to the home theater receiver via HDMI.
Step-by-Step Guide to Connecting Your Home Theater to Your TV with HDMI
Now that we have a basic understanding of the components, let’s proceed with the step-by-step guide to connecting your home theater to your TV using HDMI:
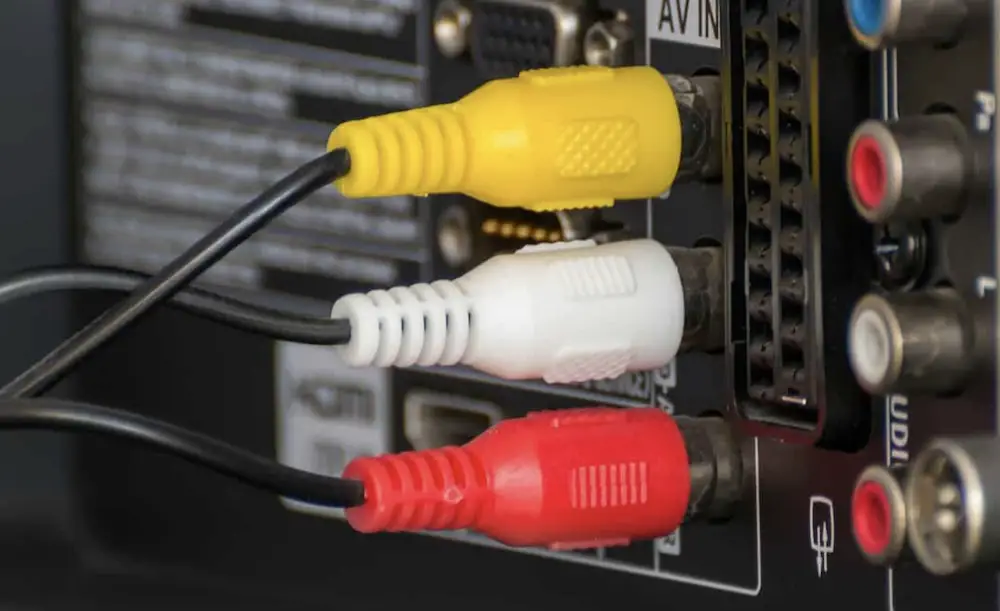
Step 1: Check HDMI Ports on Your Devices
Begin by inspecting the HDMI ports on your home theater components and TV. Most devices have multiple HDMI ports, labeled HDMI 1, HDMI 2, etc. Take note of these labels as they will be crucial in establishing the correct connections.
Step 2: Connect HDMI from Home Theater Receiver to TV
a. Using an HDMI cable, connect one end to the HDMI output port on your home theater receiver. b. Connect the other end of the HDMI cable to one of the HDMI input ports on your TV. Remember the HDMI port number for future reference.
Step 3: Connect HDMI from Other Devices to Home Theater Receiver
If you have additional devices like a Blu-ray/DVD player, gaming console, or media streamer, connect them to the available HDMI input ports on your home theater receiver. Ensure that each device is connected to a separate HDMI port.
Step 4: Power On Your Devices
Power on your TV, home theater receiver, and any additional devices connected to the system. Use the remote controls provided with each device to ensure they are functioning correctly.
Step 5: Configure HDMI Settings
Access the menu on your TV and navigate to the HDMI input source you connected your home theater receiver to. Ensure that the TV recognizes the connected devices. Similarly, access the settings menu on your home theater receiver to configure HDMI settings if necessary.
Step 6: Configure Audio Settings on Home Theater Receiver
Navigate to the audio settings on your home theater receiver and configure them to match your speaker setup. This may include specifying the number of speakers, adjusting channel levels, and configuring surround sound options.
Step 7: Test Your Home Theater System
Play a test video or audio file to ensure that both the video and audio signals are being transmitted correctly. Check each connected device to confirm they are working seamlessly with your home theater system.
Troubleshooting Tips
Despite the straightforward nature of HDMI connections, issues may arise. Here are some common troubleshooting tips:
- Check Cable Connections: Ensure that all HDMI cables are securely connected to their respective ports.
- Update Firmware: Check for firmware updates for your TV, home theater receiver, and connected devices. Updates may resolve compatibility issues.
- Try Different HDMI Ports: If you encounter issues with a specific HDMI port, try connecting your devices to a different port.
- Check Device Compatibility: Ensure that all connected devices are HDMI compatible and support the same HDMI version.
- Consult User Manuals: Refer to the user manuals for your TV, home theater receiver, and connected devices for specific troubleshooting guidance.
Final Thoughts
Connecting your home theater to your TV with HDMI is a relatively straightforward process that enhances your overall entertainment experience.
By understanding the components, following the step-by-step guide, and troubleshooting potential issues, you can create a seamless and immersive home theater setup.
Embrace the power of HDMI to unlock the full potential of your audio-visual devices, bringing the cinematic experience to the heart of your home.