Subwoofers play a crucial role in delivering the deep, low-frequency tones that enhance our audio experience. However, encountering an issue where your subwoofer suddenly stops working can be frustrating.
In this comprehensive guide, we will delve into the various potential causes behind a malfunctioning subwoofer and provide step-by-step solutions to revive its performance.
Initial Assessment
Power Connection
The first step is to check the power source of your subwoofer. Ensure that the power cable is securely connected to both the subwoofer and the power outlet. Examine the power indicator light, if available, to confirm whether the unit is receiving power.
Power Outlet Issues
Verify that the power outlet is functioning correctly by plugging another electronic device into the same outlet. If the outlet is faulty, it may need to be repaired or replaced.
Subwoofer Settings
Review the settings on your subwoofer, amplifier, or receiver. Ensure that the volume, crossover frequency, and phase settings are appropriately configured. Incorrect settings can lead to an underwhelming or non-existent bass output.
Cable Connections
Check Signal Cables
Inspect the cables connecting the subwoofer to the amplifier or receiver. A loose or damaged signal cable can result in the subwoofer not receiving the audio signal. Replace the cable if necessary and ensure a snug connection.
LFE Connection
If your subwoofer is equipped with a dedicated LFE (Low-Frequency Effects) input, confirm that the LFE cable is securely connected to both the subwoofer and the LFE output on the receiver or amplifier.
Speaker Wire Inspection
Examine the speaker wire connecting the subwoofer to the audio system. Any cuts, frays, or damage to the wire can hinder signal transmission. Replace the speaker wire if needed, ensuring a proper connection to the subwoofer and audio source.
Subwoofer Components
Fuse Check
Some subwoofers are equipped with internal fuses to protect against power surges. Check if your subwoofer has a fuse and inspect it for any signs of damage. Replace a blown fuse with the appropriate type and rating.
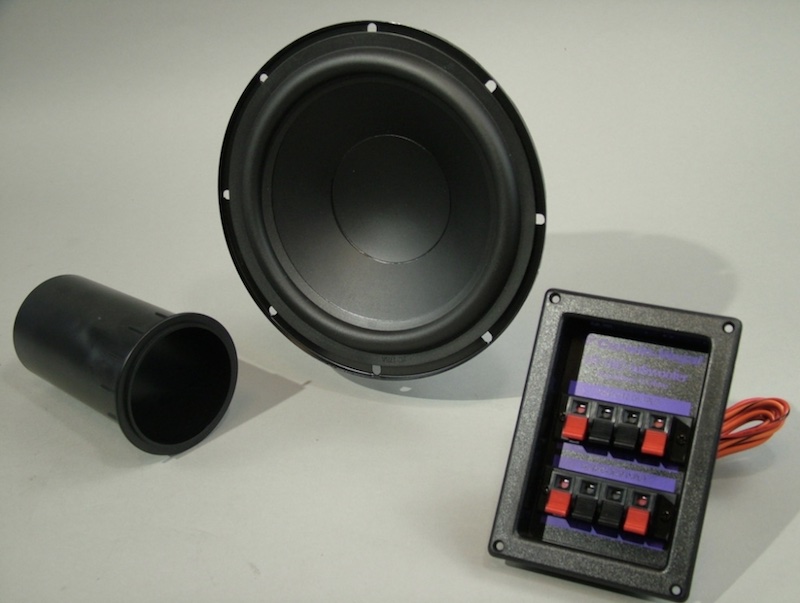
Driver Inspection
Inspect the subwoofer driver (the cone-shaped component responsible for producing sound). Visible damage, such as tears or deformation, may require professional repair or replacement. If the driver appears intact, move on to testing its functionality.
Subwoofer Enclosure
Check the integrity of the subwoofer enclosure. Loose or damaged components can compromise the subwoofer’s performance. Tighten screws and bolts and repair any structural issues.
Testing and Diagnosing
Audio Signal Test
Disconnect the subwoofer from the audio system and use a different audio source to send a signal directly to the subwoofer. This helps determine whether the issue lies with the subwoofer itself or the connected audio system.
Subwoofer Amplifier Test
If your subwoofer has a built-in amplifier, test its functionality by connecting a different speaker to the amplifier output. This helps isolate whether the problem is with the amplifier or the subwoofer components.
Multimeter Usage
For those comfortable with using a multimeter, measure the resistance of the subwoofer’s voice coil. A significant deviation from the manufacturer’s specifications could indicate a problem with the voice coil.
Advanced Troubleshooting
Amplifier or Receiver Issues
If all else fails, investigate the possibility of amplifier or receiver issues. Connect a different subwoofer to the audio system to determine if the problem persists. If it does, the amplifier or receiver may require professional attention.
Professional Servicing
For complex issues or those beyond your technical expertise, consider seeking professional assistance. Certified technicians can diagnose and repair internal electronic components, ensuring a comprehensive resolution to the problem.
The Bottom Line
Fixing a subwoofer that has stopped working involves a systematic approach, from checking power connections to testing individual components.
By following this comprehensive guide, you can identify and address common issues, restoring your subwoofer to optimal performance.
Remember, troubleshooting requires patience and attention to detail, but the reward is a renewed audio experience that resonates with deep, powerful bass.